Manage Users allows you to invite more users to Pepperi. Create a user and assign them access to Main Category (Brands) and Accounts.
Once users are created you can also manage them via the Users List (from the Admin Homescreen). See User Lists for details.
This article explains how to add and how to delete a user. Once the user is added they will receive a Pepperi branded email with their credentials. You can customize this email with your own branding using HTML. Instructions here: Customize the Email Template for inviting users
Go to the Settings -> Users -> Manage Users
To create a new user, click Add New User:
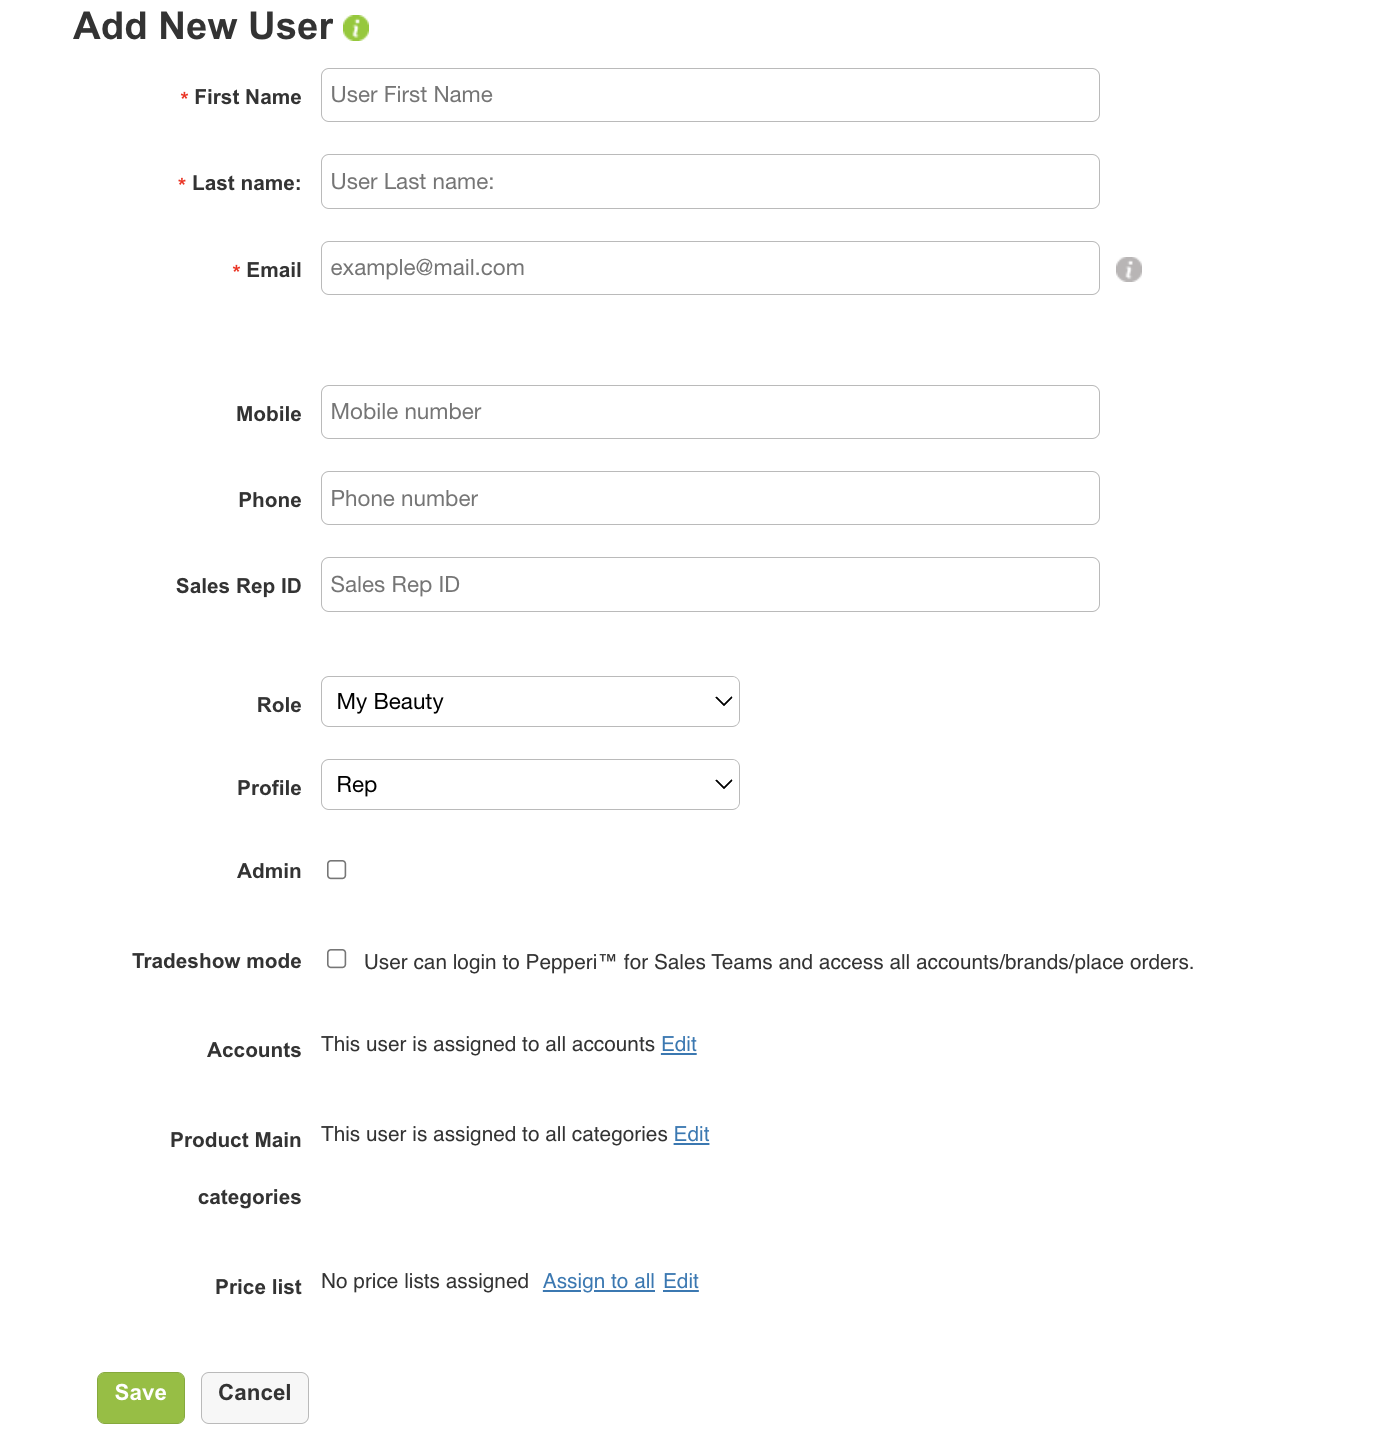
General Information - First Name, Last Name, Email, Mobile Phone. Complete the Name and contact details for the User. The Email will be the user's username when they log in.
Sales Rep ID- the ID code identifying the sales rep. Use any unique code for each user created (numbers and/or letters). If you are using an ERP system, use the identical code from the ERP.
This ID will then be used to assign this user (sales rep) to Accounts in the integration of Accounts-Users file. Multiple sales reps can be assigned to the same Account. For instructions on assigning sales reps to an Account click here: How to Assign Accounts to Sales Reps
Role - if you are using Role Hierarchy, assign the user a role within the hierarchy. They will be able to view activity for all roles below them in the hierarchy. For details see Setting up Role Hierarchy in your Organization
Profiles -
If you are using Profiles (Profiles are included in the Ultimate plan only) you will be able to associate the user with a profile as well, and they will be assigned any profile specific configurations you have done in the back office (otherwise the default is the Rep profile configurations). For details on Profiles see: Using Profiles to segment functionality and configurations
Admin - this checkbox will make the user an Admin user, give them access to the Settings in the back office to configure and setup the system, and assign them to all accounts and be able to view all activity.
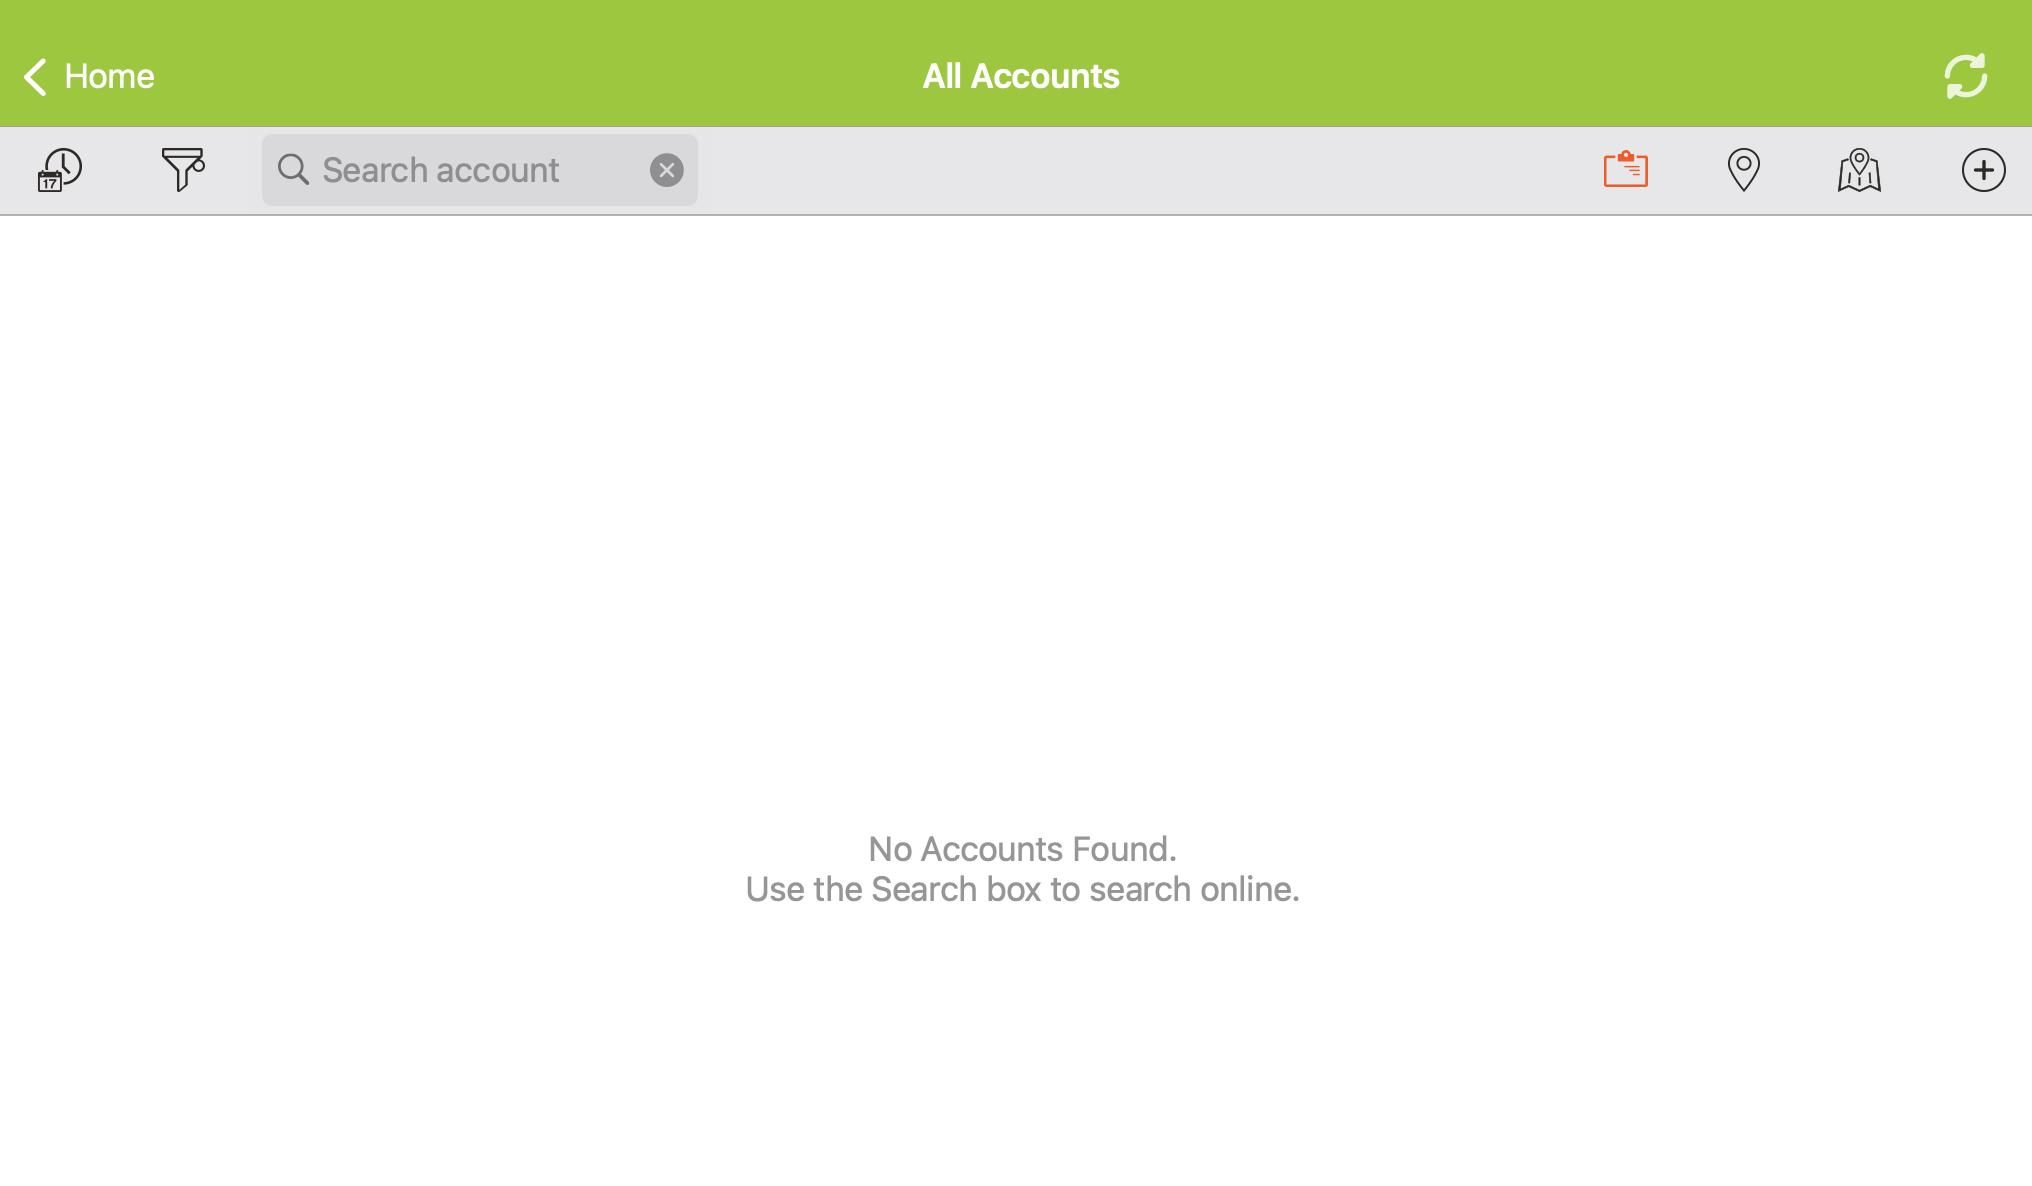
Tradeshow mode - Allows a User to search for any Account (not only the ones they are assigned to) on the mobile app, even if they are not an Admin user. On the WebApp they will be able to see all Accounts with no search required.
On the mobile app they will see a "Search online" message when they go to the Accounts list:
Accounts - Click on Edit to manually select/modify the Accounts this sales rep is associated with. This selection restricts the Accounts visible to the sales rep on the app. Accounts can also be assigned in bulk via the API_Accounts-Users file. Assignments selected via this manual interface will override existing assignments assigned via integration of the API_Accounts-users file.
Product Main categories - Restricts the Main Categories the user can sell from/display in the catalogs.
Price List - Restricts the Price Lists available to the sales rep to select from when he/she creates a new Account /edits an existing on the app. (Relevant if you are using Price Lists.)
Delete a User
To Delete a user, just click on the delete icon to the right of the user name.
When you delete a user, their orders still remain in the system, but they can only be viewed on the Web App, not on a tablet. If you wish to change a user's login email to re-assign it to another sales rep then all historical data is viewable by that new sales rep when they log in on a tablet with their email. For instructions see Reassigning a User to another Sales Rep.
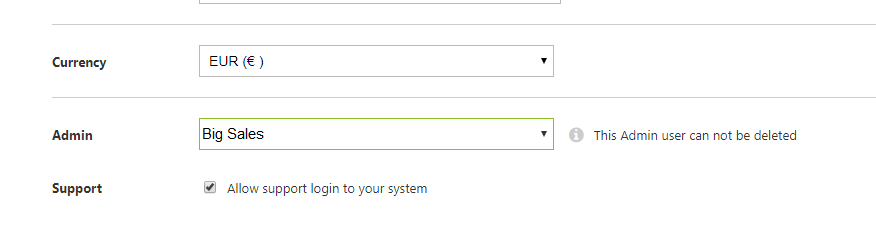
If you are trying to delete a user and get an error, the user is most likely defined as the Admin in the Company Profile.
Go to Settings -> Company Profile -> Company Profile.
Check if the user you wish to delete is selected. If so select a different user for Admin and go back to the Users section and delete the user again.
Deleted users can be restored from the Users Recycle Bin. To access the Recycle Bin click on the Menu icon on the right of the All Users section.
To restore a user just click on the "+" sign next to the user name in the recycle bin.

0 comments
Please sign in to leave a comment.